Introduction to Azure Virtual Machines (VMs)
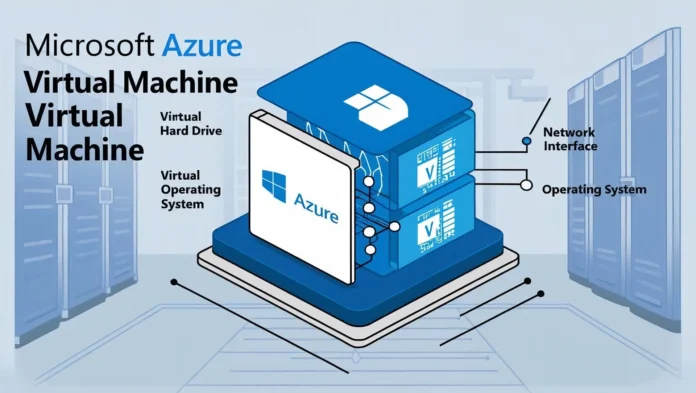
Azure Virtual Machines (VMs) are one of the core compute services in Microsoft Azure, providing scalable, on-demand virtualized computing resources. They allow businesses to run Windows or Linux workloads in the cloud without maintaining physical hardware. Azure VMs support a wide range of use cases, including application hosting, development and testing environments, databases, and high-performance computing.
In this guide, we will explore Azure VMs in detail, covering:
- Key Concepts & Benefits
- Step-by-Step VM Creation
- Configuration & Optimization
- Deploying in Production
- Best Practices for Security & Performance
1. Key Concepts & Benefits of Azure Virtual Machines
1.1 What Are Azure Virtual Machines?
Azure VMs are Infrastructure-as-a-Service (IaaS) offerings that enable users to deploy and manage virtualized servers in the cloud. Each VM runs its own operating system (OS) and can be customized with different compute, storage, and networking configurations.
1.2 Benefits of Using Azure VMs
- Scalability: Easily scale up (increase VM size) or scale out (add more VMs) based on demand.
- Flexibility: Choose from a wide range of OS images (Windows, Linux) and VM sizes.
- Cost-Efficiency: Pay only for what you use with options for Reserved Instances and Spot VMs.
- High Availability: Use Availability Sets and Availability Zones for fault tolerance.
- Hybrid Capabilities: Integrate with on-premises environments using Azure Arc or VPN/ExpressRoute.
2. Step-by-Step Guide to Creating an Azure VM
2.1 Prerequisites
- An Azure account (Free Tier or Pay-As-You-Go).
- Sufficient subscription permissions to create resources.
- Decide on the OS (Windows/Linux), VM size, and networking requirements.
2.2 Creating a Virtual Machine in Azure Portal
Follow these steps to deploy a VM:
Step 1: Log in to Azure Portal
- Navigate to https://portal.azure.com and sign in.
Step 2: Create a New Virtual Machine
- Click “Create a resource” > “Virtual Machine”.
- Select a Subscription and Resource Group (create new if needed).
Step 3: Configure Basic Settings
- Virtual Machine Name: Enter a unique name (e.g.,
ProdWebServer01). - Region: Choose the closest Azure region for low latency.
- Image: Select an OS (Windows Server 2022, Ubuntu 20.04 LTS, etc.).
- Size: Pick a VM size based on CPU, RAM, and storage needs (e.g., B2s for dev, D4s v3 for production).
Step 4: Set Up Administrator Credentials
- For Windows: Provide a username and password.
- For Linux: Use SSH key authentication (recommended) or password.
Step 5: Configure Networking
- Virtual Network (VNet): Use an existing one or create new.
- Subnet: Define a subnet (e.g.,
10.0.1.0/24). - Public IP: Assign a public IP if the VM needs internet access.
- NIC Security Group: Configure NSG rules (allow RDP/SSH, HTTP/HTTPS).
Step 6: Configure Disks
- OS Disk Type: Choose between Standard HDD, Standard SSD, or Premium SSD (recommended for production).
- Data Disks: Attach additional disks if needed.
Step 7: Review & Deploy
- Click “Review + Create”, validate settings, then click “Create”.
- Deployment takes 2-5 minutes.
3. Post-Deployment Configuration & Optimization
3.1 Connecting to the VM
- Windows VM: Use Remote Desktop Protocol (RDP).
- Linux VM: Use SSH (
ssh username@public-ip).
3.2 Installing Required Software
- Install web servers (IIS, Apache), databases (SQL Server, MySQL), or apps via:
  # Windows (PowerShell)
  Install-WindowsFeature -Name Web-Server -IncludeManagementTools
# Linux (Ubuntu)
sudo apt update && sudo apt install apache2 -y3.3 Configuring Backups
- Enable Azure Backup:
- Go to Recovery Services Vault > + Backup.
- Select Azure VM and configure a backup policy.
3.4 Monitoring & Performance Tuning
- Use Azure Monitor and Application Insights.
- Enable Boot Diagnostics for troubleshooting.
- Optimize disk performance using Azure Disk Encryption and Premium SSDs.
4. Deploying Azure VMs in Production
4.1 High Availability (HA) Setup
- Availability Sets: Distribute VMs across fault domains.
- Availability Zones: Deploy VMs in different physical datacenters.
4.2 Load Balancing & Scaling
- Use Azure Load Balancer or Application Gateway for traffic distribution.
- Set up Virtual Machine Scale Sets (VMSS) for auto-scaling.
4.3 Security Best Practices
- Enable Azure Defender for threat protection.
- Use Managed Identities instead of passwords.
- Restrict Access with NSGs and Azure Firewall.
4.4 Cost Optimization
- Use Reserved Instances for long-term savings.
- Shut down unused VMs with Auto-Shutdown schedules.
5. Conclusion
Azure Virtual Machines provide a powerful, flexible, and scalable solution for running workloads in the cloud. By following best practices in deployment, configuration, and security, organizations can optimize performance while minimizing costs. Whether for development, testing, or production, Azure VMs offer enterprise-grade reliability with seamless integration into hybrid environments.
Next Steps
- Explore Azure Automation for VM management.
- Implement Infrastructure as Code (IaC) using ARM templates or Terraform.
- Consider Azure Kubernetes Service (AKS) for containerized workloads.

